Technical equipment

- Fast implementation of various measurement methods and measurement systems
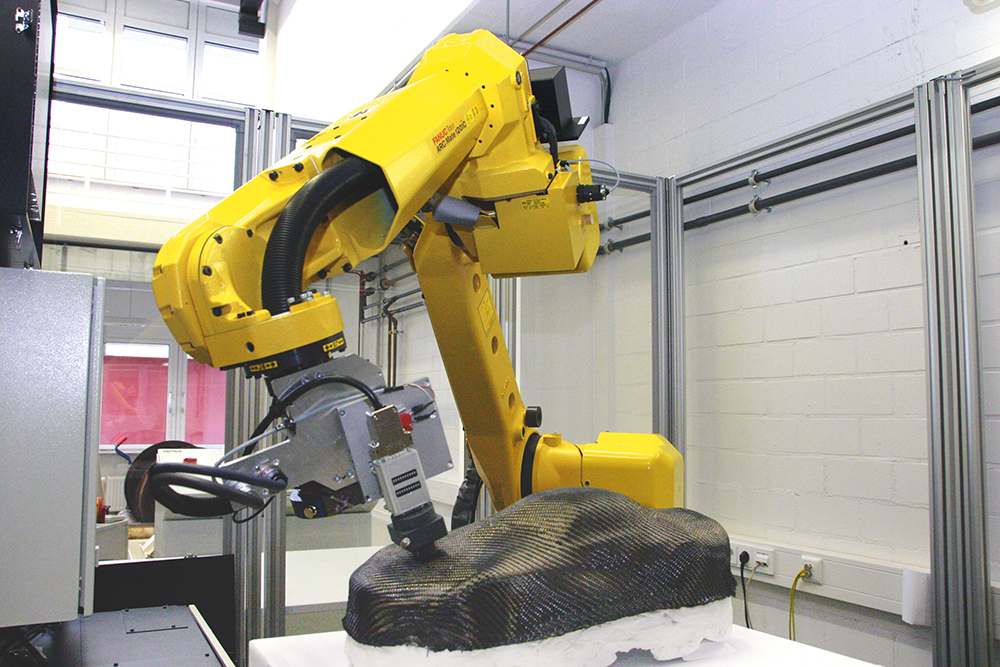
- Adaptation of various tools for scanning, scratching, cutting, drilling, welding or bonding
- Accuracy of the robot: 80 μm target point difference
- Accuracy of the camera: 20 μm distortion at 800 mm focal point
- Surface pre-scan (optical): stereo camera and software
- Path planning: with software (parametric with gradient, compensation, caster angle, bearing angle etc.)
- Measuring speed: approx. 500 mm/s at 0.25 mm pitch
- Impedance image: 100 x 100 mm at 0.25 mm pitch: 3 min
- Scan area: up to 310 x 310 mm
- Position accuracy and resolution: < 10 μm
- Lateral resolution: < 15 μm
- Vertical resolution: < 30 nm (crack thickness)
- Ultrasonic frequency: up to 200 MHz
- Pulse-echo and permeation technology
- Single samples and sample series
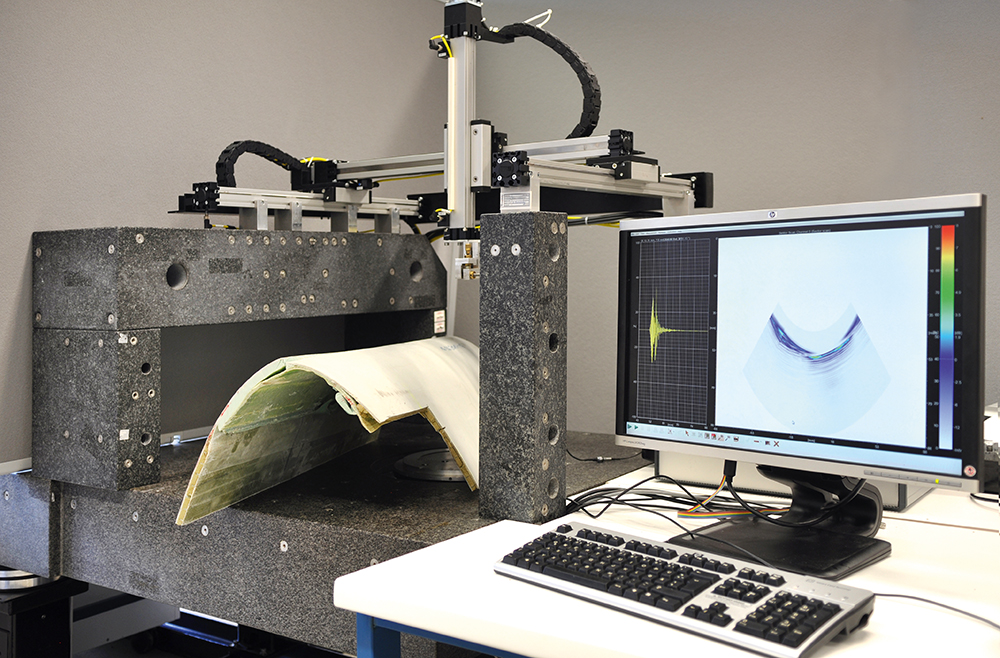
Ultrasonic scan carriage
- Extensive scans over measuring areas of up to 1 m width
- Use of various ultrasonic transducers
- Resolution determined by the frequency range of the sensors
- Automated scanning of surfaces
Four-axis manipulator for special tests
- Three linear axes, one rotary disk, various (rotatable) plunge basins
- Immersion and contact technology
- Attainable object parameters:
- Weight: less than 100 kg
- Geometry: smaller than 500 x 300 x 300 mm³
- Weight: less than 100 kg
- Various ultrasonic electronic units with numerous parameters
- Free access to raw data (compliant with various analysisalgorithms)
- Can be adapted for many sensors and mechanic configurations
- Methods of sound field characterization: beads in water and electrodynamic probes
Ultrasound goniometer HUGO III
- Analysis of Rayleigh wave dispersion in layered materials
- Analysis of Lamb waves at thin structures
- Determination of layer thickness
- Experiments with volume waves
Acoustic Intensity Measurement System – AIMS
- Determination of acoustic fields in water
- Five-axis hydrophone positioning
- Used for characterization and validation of transducer designs

