Development of methods


New manufacturing processes, ever more complex components and increasing expectations of quality mean that companies are faced with questions that conventional approaches to ultrasonic technology cannot solve. As a NDT specialist, Fraunhofer IKTS develops new and effective testing methods for industrial ultrasonic applications “out of the box“. These applications can be completed with customized measuring and analysis technology as required.
Characterization of boundary layers
In order to improve materials properties, such as vibration resistance, stiffness, resilience and fatigue strength, the boundaries of components under heavy strain, such as camshafts, gears, bending and pressing tools or engine components, are modified with regard to their mechanic and thermal parameters. This can be achieved by shot blasting metals in order to modify their microstructure (strain hardening) or to introduce surface compression stress. Surface hardening is another option. However, these modifications frequently result in unwanted side effects, such as surface degradation from micro cracks.
In any case, the non-destructive characterization of the material’s condition will always be of interest. Rayleigh waves help to obtain the desired information. These ultrasonic waves are brought onto the surface of the component and penetrate it to varying levels of depth, depending on their frequency. The frequency-dependent sonic velocity (dispersion) provides information on the depth gradient of the examined properties. The acoustoelastic effect – the dependency of the velocity of propagation from the elastic stresses – makes it possible to determine an internal stress (depth) gradient. The laser-optical determination of the Rayleigh wave dispersion has become a well-established and very accurate method for the non-destructive characterization of boundary layers. However, it is a highly complex and mechanically not very robust process.
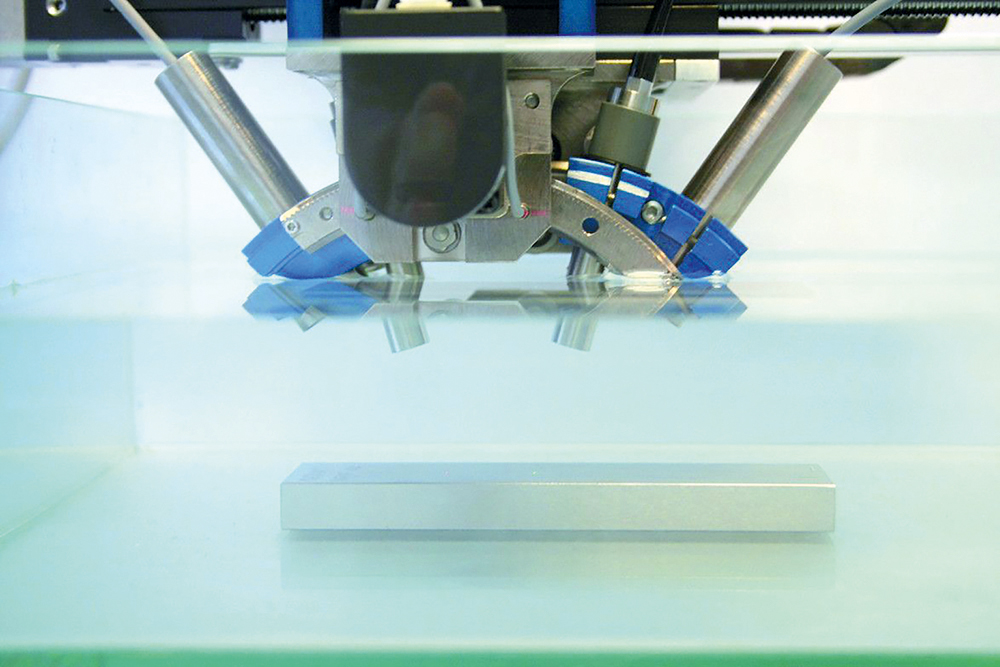
Therefore Fraunhofer IKTS was looking for an alternative to characterize internal stress in shot-blasted metals. Using the “High Resolution Ultrasound Goniometer” (HUGO), which was developed at the institute, the spectrum of the signal, reflected through immersion technology, is visualized through the angle, which allows generating a dispersion curve. This approach enabled the researchers of Fraunhofer IKTS, in several projects for customers, to characterize the internal stress condition of hardened and shot-blasted metals quickly and without destroying the materials. Furthermore, the testing device can be used to determine layer thickness and surface degradation.
Representation of volume images
High-frequency ultrasonic immersion technology, also called ultrasonic microscopy or scanning acoustic microscopy (SAM), makes it possible to represent volume images. This method is ideal for objects with small defects (scatterers), but rather imprecise when it comes to detecting sloped, planar inhomogeneities, such as cracks. The newly developed measuring technique and analysis software for ultrasonic microscopy by Fraunhofer IKTS solves this problem. SAM tomography does a lot more for objects with an even coupling area than conventional ultrasonic microscopy, since it can correctly detect and represent sloped planar defects as well.
Measuring ultrasonic wave propagation
Optimizing ultrasonic testing methods requires extensive knowledge about how ultrasonic waves propagate. Numerical simulation, which is used as a tool for this purpose, often falls short if the tasks are more complex, for instance if input parameters are missing or imprecise. In such cases, experimental methods are indispensable in order to get information. The researchers of Fraunhofer IKTS can look back on long years of experience in measuring ultrasonic wave fields using various methods. The laser vibrometric measurement of ultrasonic wave propagation on surfaces or cross-sections has emerged as a particularly suitable approach for this. This method is completely free from retroactive effects and delivers snapshots and videos of the wave propagation. It is particularly suited to fiber-reinforced materials or materials that are elastically highly anisotropic, such as austenitic weld seams. Furthermore, it is possible to gain relevant insight into ultrasonic wave propagation even for defect-based interactions.
Determination of microstructures
An ultrasonic wave propagating along a surface does not just carry information on the varying elastic macroscopic properties. It also contains information on the microstructure of the examined object. The researchers of Fraunhofer IKTS have managed to make the microstructure visible by performing laser vibrometric measurements of grazing ultrasonic waves. This new type of elastodynamic near-field microscopy, also called “grazing incidence ultrasound microscopy” (GIUM), represents an alternative to metallographic methods for grain structure analyses; it also does without etching. Also, in contrast to electron backscatter diffraction (EBSD), GIUM does without a vacuum and allows for much larger samples.
Services offered
Fraunhofer IKTS provides innovative solutions for industrial tasks using ultrasonic methods. Furthermore, other NDT methods are available; they pass through all or some of the following steps, depending on the problem to be solved:
- Analysis of the problem
- Search for known or established solutions or approaches
- Modeling of the facts and situation
- Experimental investigation
- Demonstration of feasibility
- Development/adaptation of sensors and/or electronics
- Development of software
- Measurements as a service or supply of a test system