Industrial micro X-ray Computer Tomography (micro-XCT)

Topic

Industrial micro X-ray Computer Tomography (micro-CT) is an established analysis method at Fraunhofer IKTS in Dresden for component inspections and small series testing. It is ideally suited to detecting inclusions, cracks, pores and other material inhomogeneities within an object of any shape and thus to carrying out pore analyses, dimensional accuracy analyses or completeness tests. Void analyses, e.g. of solder contacts, are already possible using 2D radiography. Micro-XCT allows non-destructive three-dimensional testing of objects with a high spatial resolution.

The micro-XCT device set up at Fraunhofer IKTS can be adapted to the respective customer-specific requirements. Therefore, both very small components, for example from the electronics industry, and large objects, such as components from the automotive industry, as well as art objects or fossils, can be examined.

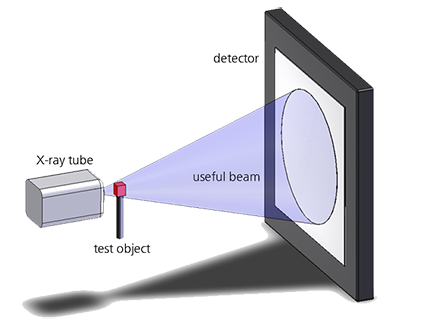
The test object is positioned on a rotation table between the X-ray tube and the detector so that it can be fully or partially irradiated. During computed tomography, the rotation table rotates 360° with the sample. The rotation takes place in 800 to 1600 angular steps. This produces projections in different orientations. A computer cluster reconstructs the volume model of the test specimen in parallel with the measurement.

Immediately after the measurement process, a 3D volume data set is available for evaluation. The volume data set essentially represents the spatial density distribution of the sample. Spatial sectional images can be placed in any orientation within the 3D volume data set. This enables a precise evaluation of the test specimen regarding its internal structure (pores, cracks, air inclusions, material inhomogeneities, etc.).
Measuring principle

© Fraunhofer IKTS
Functioning of industrial micro-computed tomography (micro-CT) for component inspection and small-batch testing.

The test object is positioned on a rotation table between the X-ray tube and the detector so that it can be completely or partially transilluminated (RT, DRT). During computed tomography, the rotation table rotates 360° with the specimen. During the rotation, approximately 1000 projections are recorded from different orientations.

From these data, a 3D X-ray data set is calculated for evaluation. The volume data set represents, as a first approximation, the spatial mass density distribution of the sample. Within the 3D volume data set, sectional views can be placed in any orientation. This allows for a precise evaluation of the specimen with respect to its internal structure (pores, cracks, inclusions, material inhomogeneities, etc.).
The generated 3D volume data set also allows for geometric measurement of distances, angles, circular arcs and surfaces or the determination of partial volumes of differently dense areas, which manifest themselves in different gray values. The documentation of the X-ray CT examinations takes place in the form of sectional images or 3D animations in the standard formats TIF, JPG, AVI or MPEG.

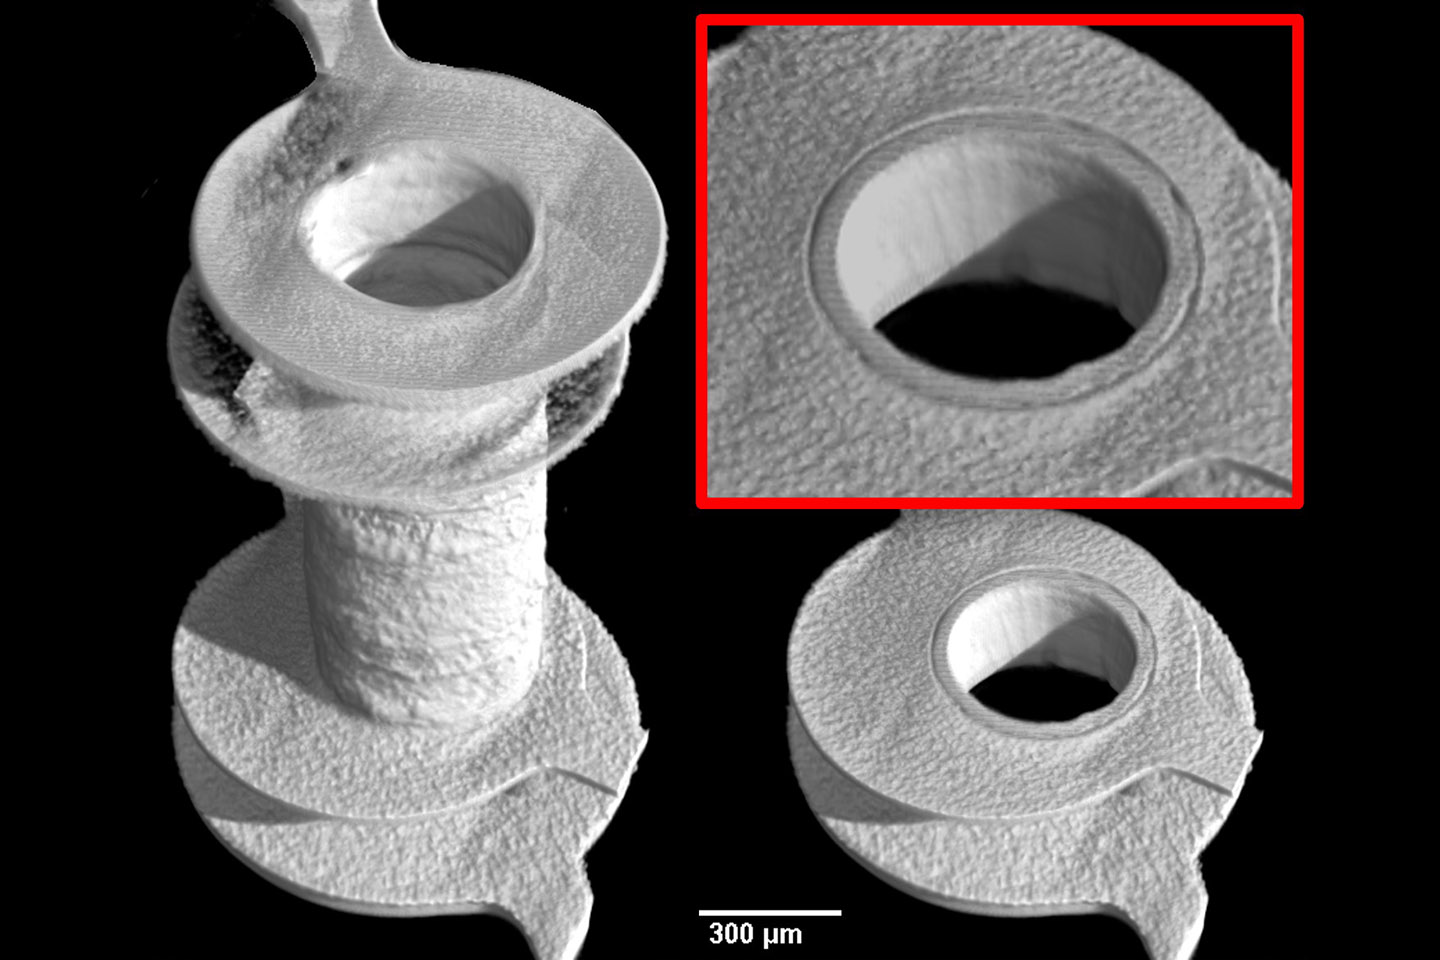
X-ray CT: VIA in 2 planes with defective residual ring connection.
© Fraunhofer IKTS
X-ray CT: VIA in 2 planes with defective residual ring connection.
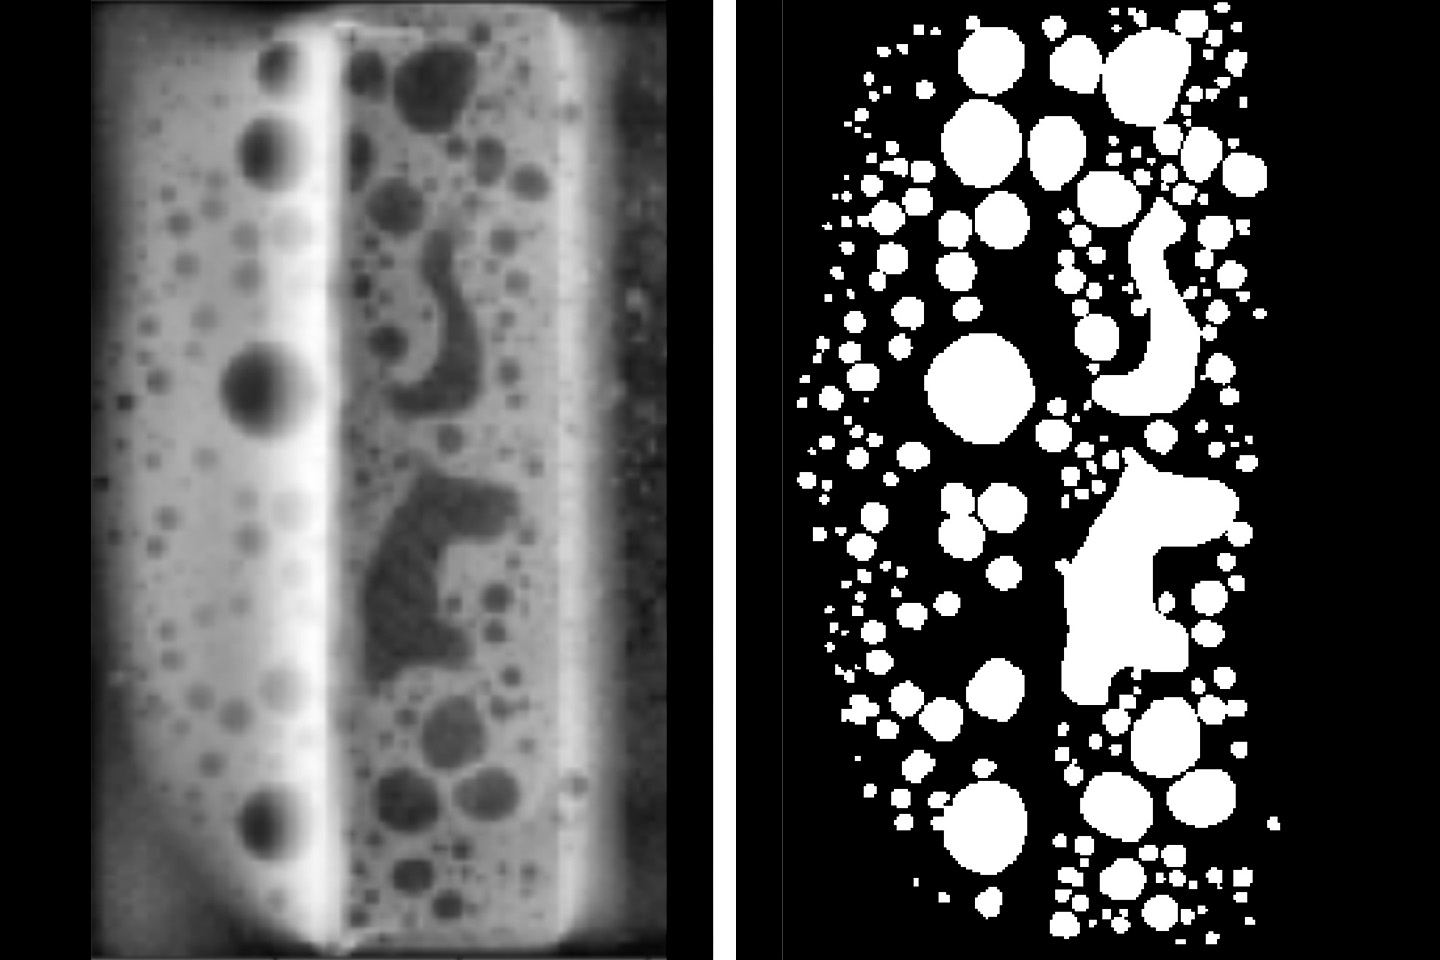
X-ray radiography: void analysis in solder joint (standoff and meniscus) of a chip resistor.
© Fraunhofer IKTS
X-ray radiography: void analysis in solder joint (standoff and meniscus) of a chip resistor.
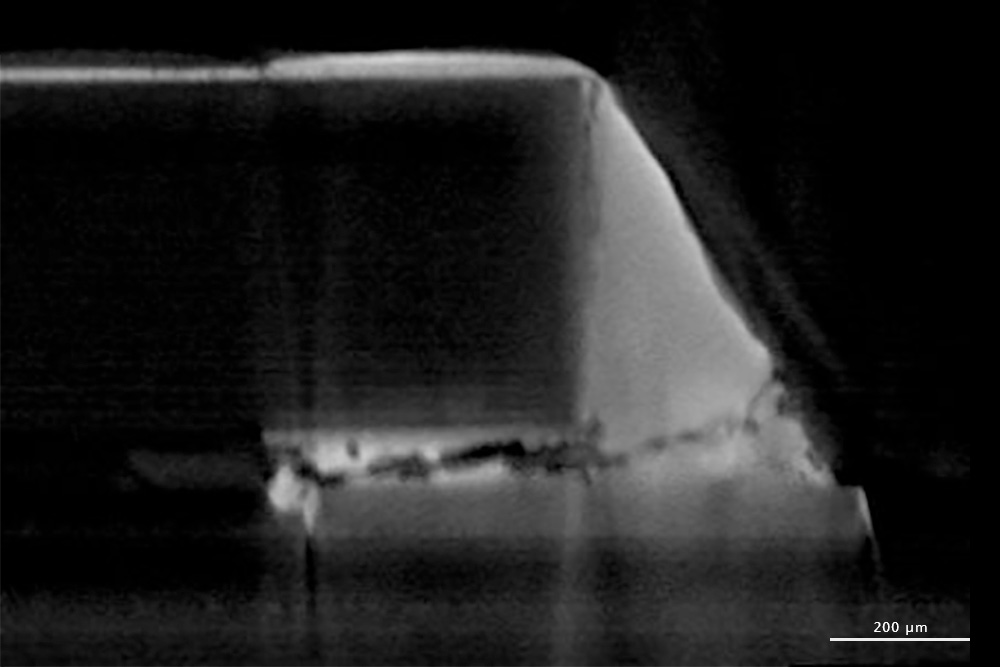
X-ray CT: 2D image - crack in solder joint of a chip resistor.
© Fraunhofer IKTS
X-ray CT: 2D image - crack in solder joint of a chip resistor.
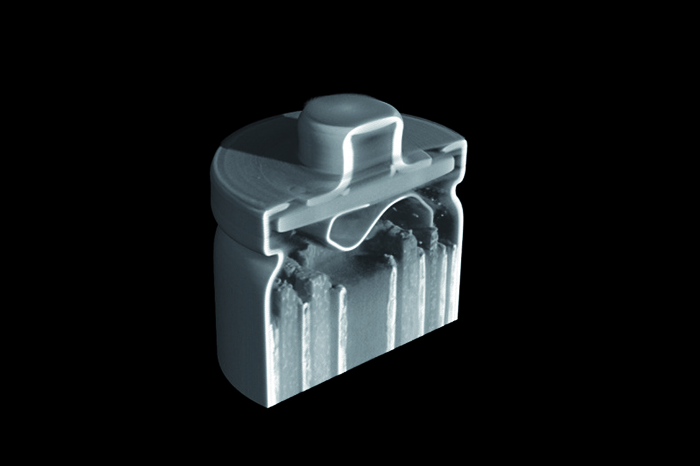
X-ray CT of a battery.
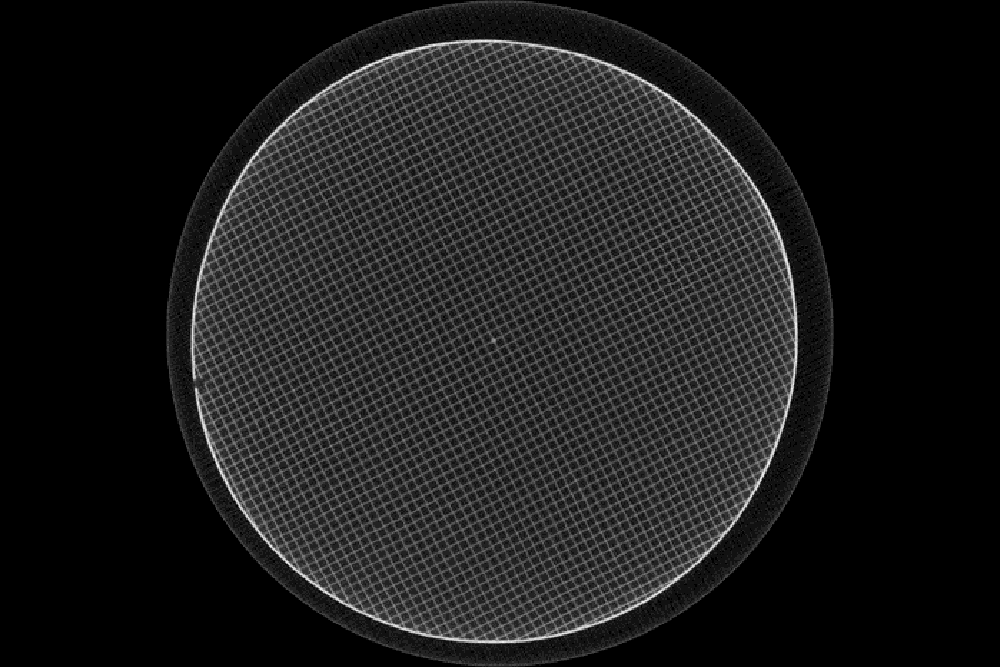
X-ray CT of a ceramic filter structure.
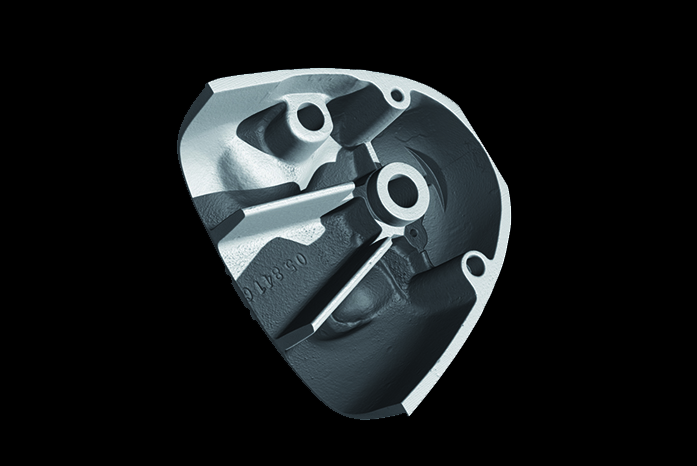
X-ray CT of a gear shifting cover.

  • Electronics (flat assemblies)
  • Machine components, e.g. die casting
  • Ceramics industry
  • Biotechnology and medical technology
  • Archaeological finds and art objects

  • 225 kV microfocus X-ray tube
  • 2048 x 2048 pixel area detector
  • Max. real resolution: > 900 nm/voxel
  • Max. sample size: < 800 mm
  • Max. sample weight: < 6 kg

  • Non-destructive component inspection and small series testing
  • Fully reconstructed volume data set in the desired format
  • Support in using the data viewing software
  • Individual evaluation of the measurement data